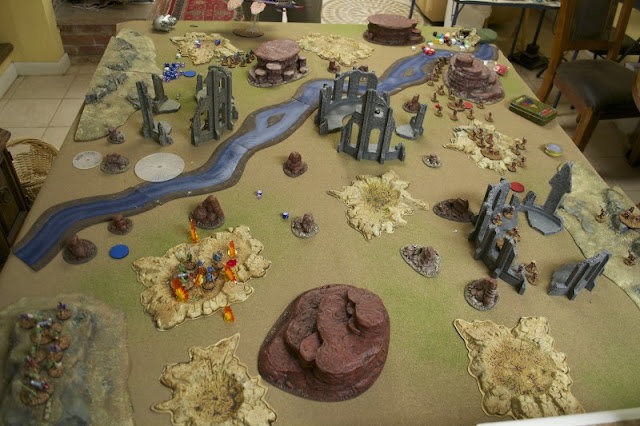
My wife's cousin Sam visited us in Virginia for the Fourth of July. We spent one afternoon playtesting across the surface of Mars. I took the Martian Colonists, and Sam played the Free Martians. We used the symmetrical scenario and the two attacking lists.
I'd just finished the trireme, so I added that to the Martian list and made up some stats on the spot. Its armor was too tough for the Colonists to destroy it, but it's open-topped, so it could be stunned on double sixes.
Sam set up the trireme on one flank where it could escort a unit of swordsmen across the board. He put his other forces on the other side, occupying a hill and ready to advance. In theory, I was supposed to attack too, but I knew the trireme would kill me in the open, so I settled for hunkering down and defending. This game would be the trireme's hour of uncontested glory.
 |
| The setup. |
 |
| The Trireme targets some colonists. |
 |
| The disposition of the colonist's flank. |
 |
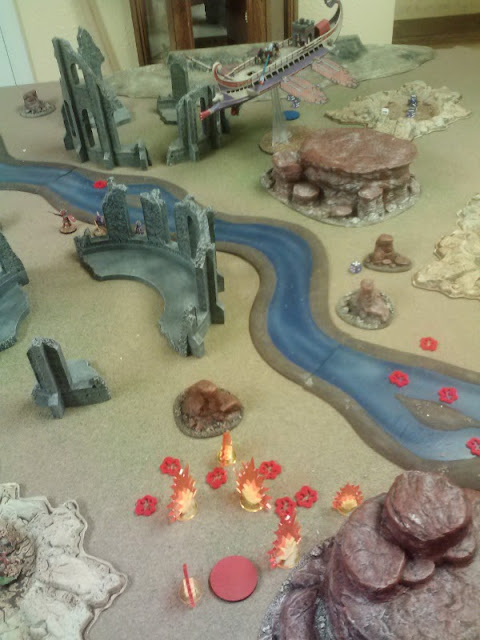
| The trireme opens fire. |
 |
| Ka-blam! |
While the trireme decimated one flank with its big cannon, Sam advanced his troops on the other flank. These troops rapidly encountered the Colonial machine guns and mortars.
 |
| Forward! |
 |
| The Colonists occupy the ruins, while the mortars on the hill behind open fire. |
 |
| The Martians huddle in a crater. |
 |
| I loom over the battlefield. |
Meanwhile on the other flank, the swordsmen advance on the much-reduced colonists.
 |
| Crossing the river. |
 |
| The foe dies. |
The Trireme is utterly devastating, and clears the colonists out of the center even faster than the swordsmen can chop them up. In retaliation, I machinegun the swordsmen, killing them all.
 |
| The smoking crater where my center used to be. |
 |
| Using the template. |
In the final stages of the game, Sam advances his forces onto a mesa, where my mortars promptly kill them all.
 |
| Climbing the mesa. |
 |
| The view from the top. |
At this point, both forces have lost significant numbers of squads. We are both close to a break test, but the Colonist army breaks first, giving the victory to Sam.
 |
| A late game shot, showing the carnage. |
In closing thoughts, the trireme was really cool looking. I'm glad I used template rules. It just looks awesome to drop that pie plate over a squad. However, I need some rules to penalize the template for moving and shooting. Since I cannot reduce its RoF, I'll probably give the template a -1 to hit. Or maybe a reroll of successes. Sam suggested that the 32" range for LMGs is too long and uses up most of the board. Maybe I will reduce it to 24", the same as rifle range.


No comments :
Post a Comment